
Leo’s First Birthday
Planning and putting parties together is one of my favorite creative outlets! And lucky for me, my mom loves it just as much, so her and I go all out for any and all events & occasions! Since I don’t have babies of my own yet, I take all the joy in being the party planning committee for my nieces and nephews! One of my favorite parts of party planning is the challenge of doing all the fun and beautiful things but on a budget! Cue the DIY! I am going to link all of the things I found and share my tips and tricks! Hopefully this will be helpful!

Depending on the party, we usually set up our eating tables and then a cute set up for the cake/dessert table! The blue table runners are $15 from Amazon!
PUMPKIN STAND: A month ago we made this cute white lemonade stand for my niece’s birthday party, so we repurposed that for our pumpkin party! My brother cut the wood and my dad put it together, so it was very simple and made with off cuts we already had!

Blue & white check throw – Amazon
Pumpkins – Walmart
Pillow – TJ Maxx/Homegoods
Banner – Black & white banner was from Target dollar spot a couple years ago. The middle pennant is from a banner from Party City with a painted cardboard “1” from Hobby Lobby
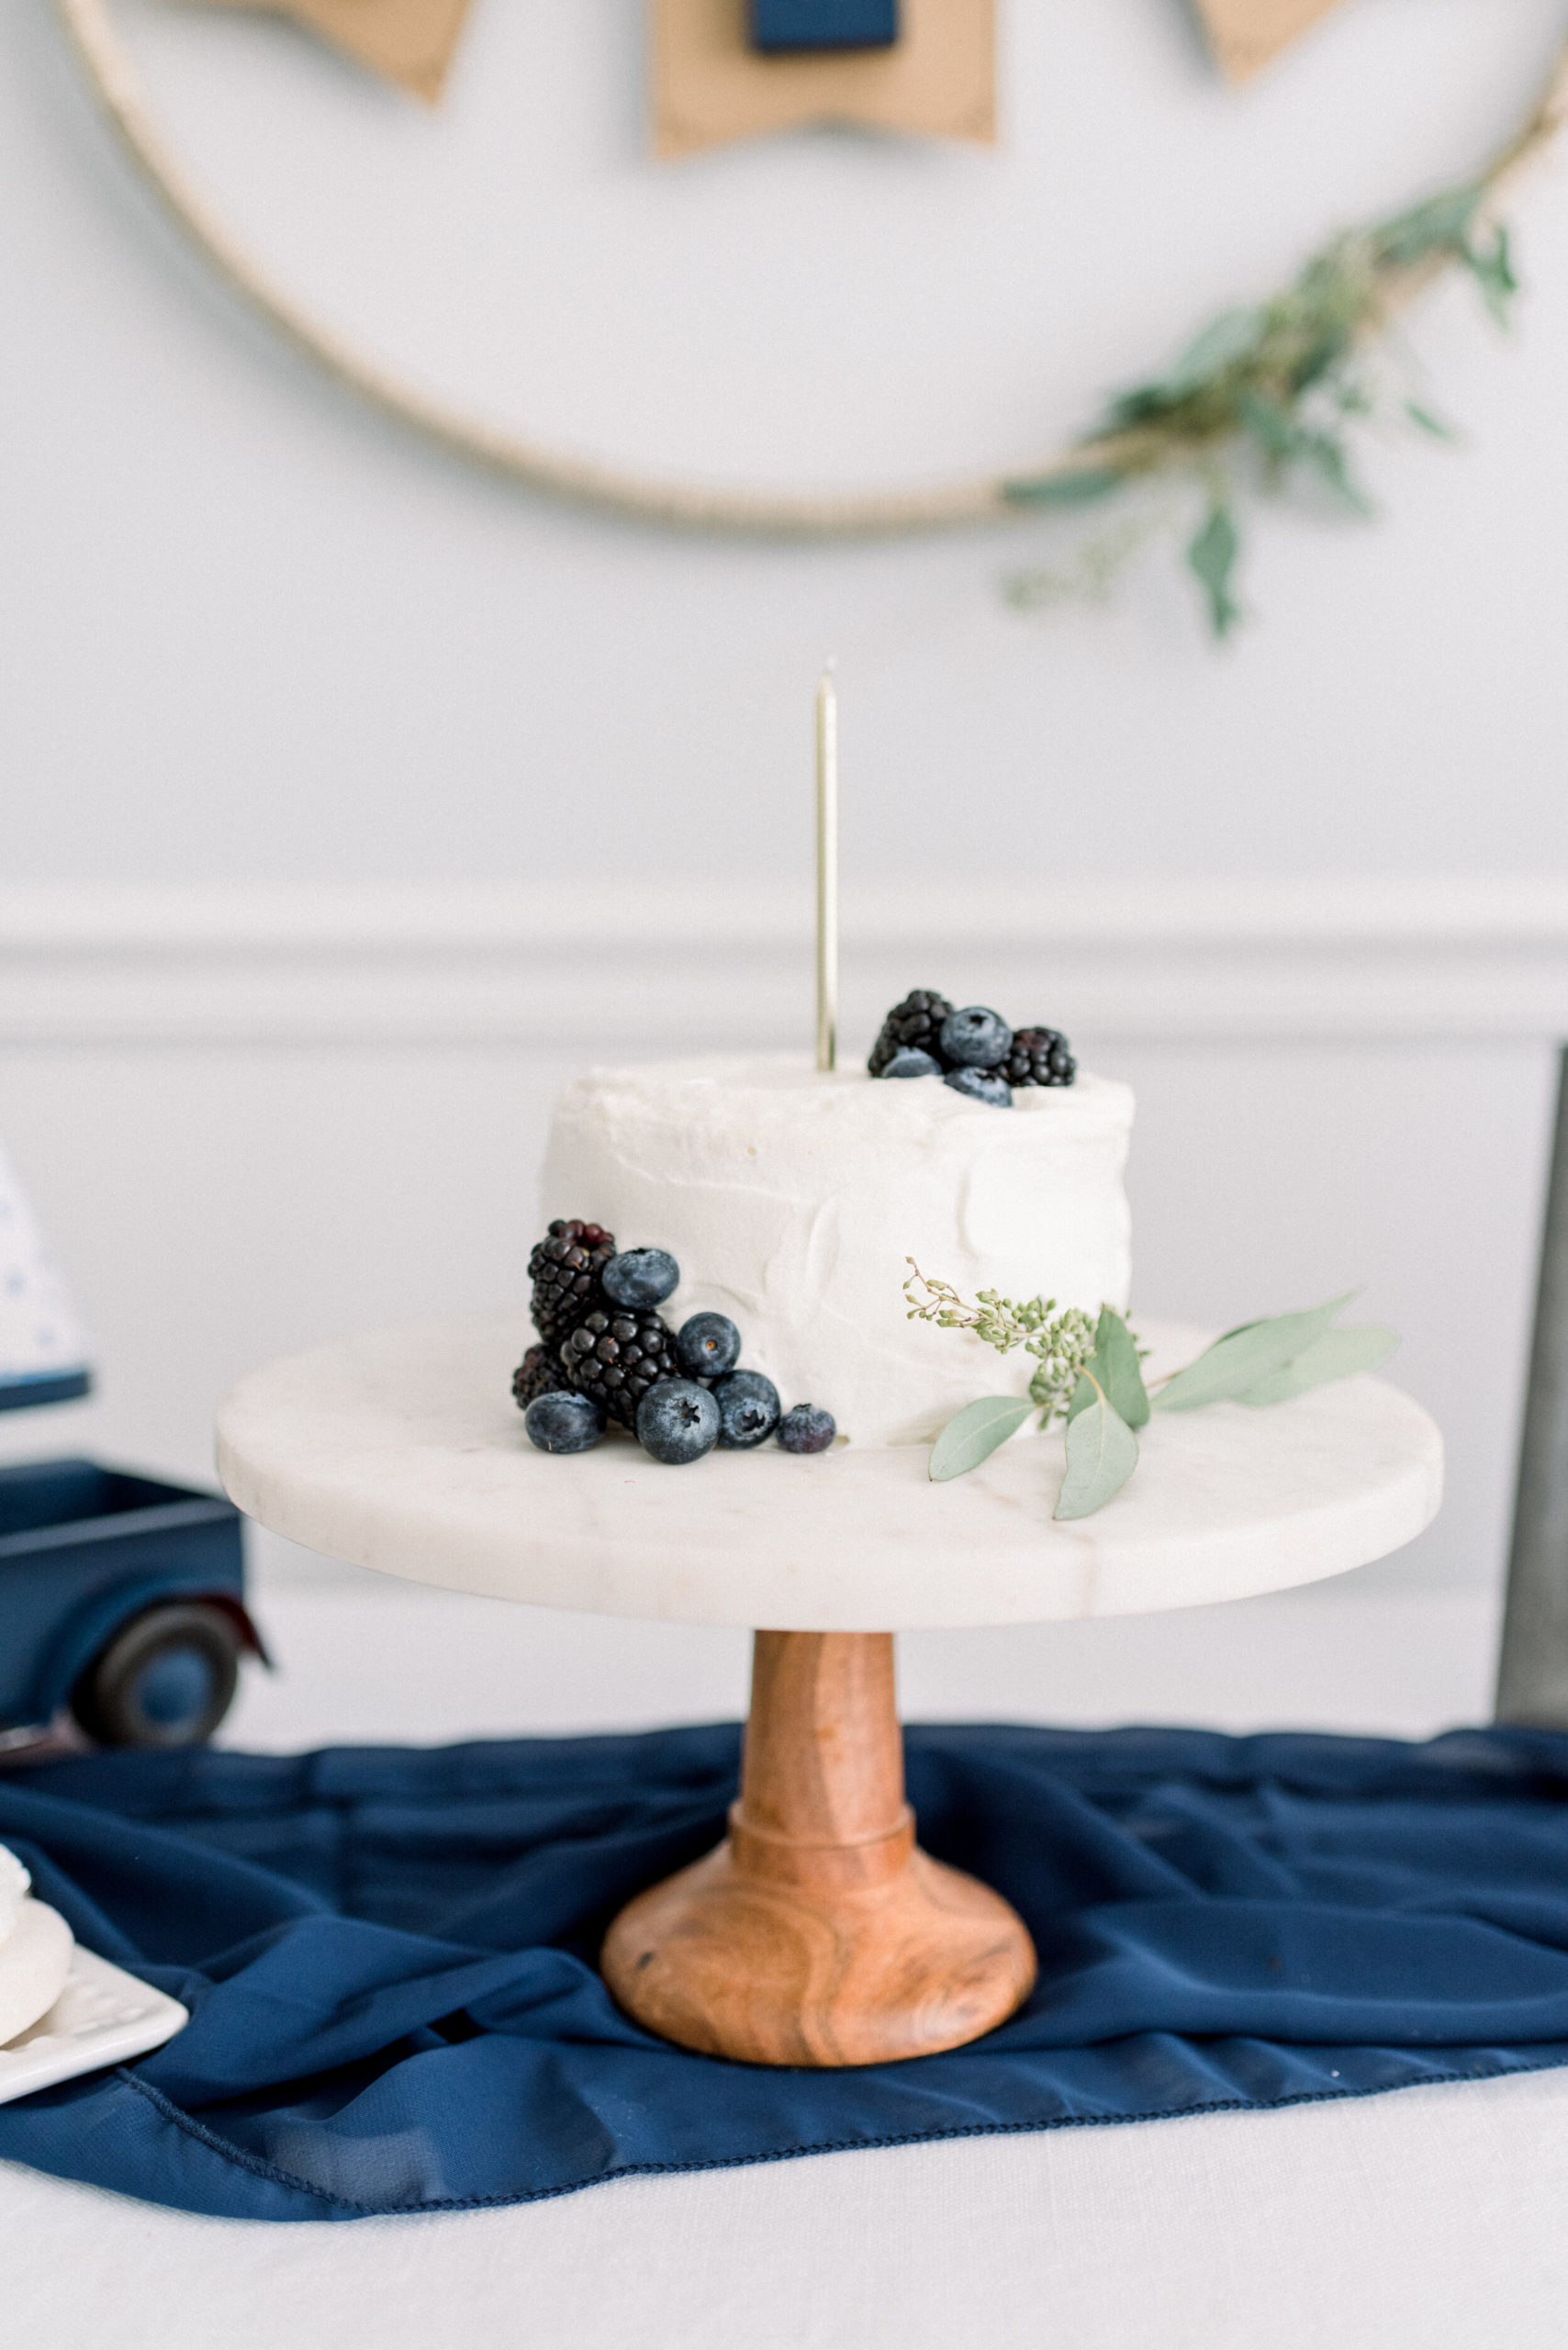
This cake turned out 100% better than we thought it might haha. The cake is a sugar-free angel food cake recipe we found online, baked in two smaller 6in cake pans. We were going to make some sugar free icing, but instead decided to take the easy route and use whipped cream. Well, word to the wise… if you plan on icing your cake and waiting a while before the party, don’t use whipped cream and put the cake in the fridge. The whipped cream liquified/weeped quite a bit (which we thought may happen). We pulled the cake out of the fridge just before the party and cleaned it up a little and re-iced it with more whipped cream. We decided to throw on some blueberries and blackberries and with some fresh eucalyptus. Candle and cake stand are from Homegoods!
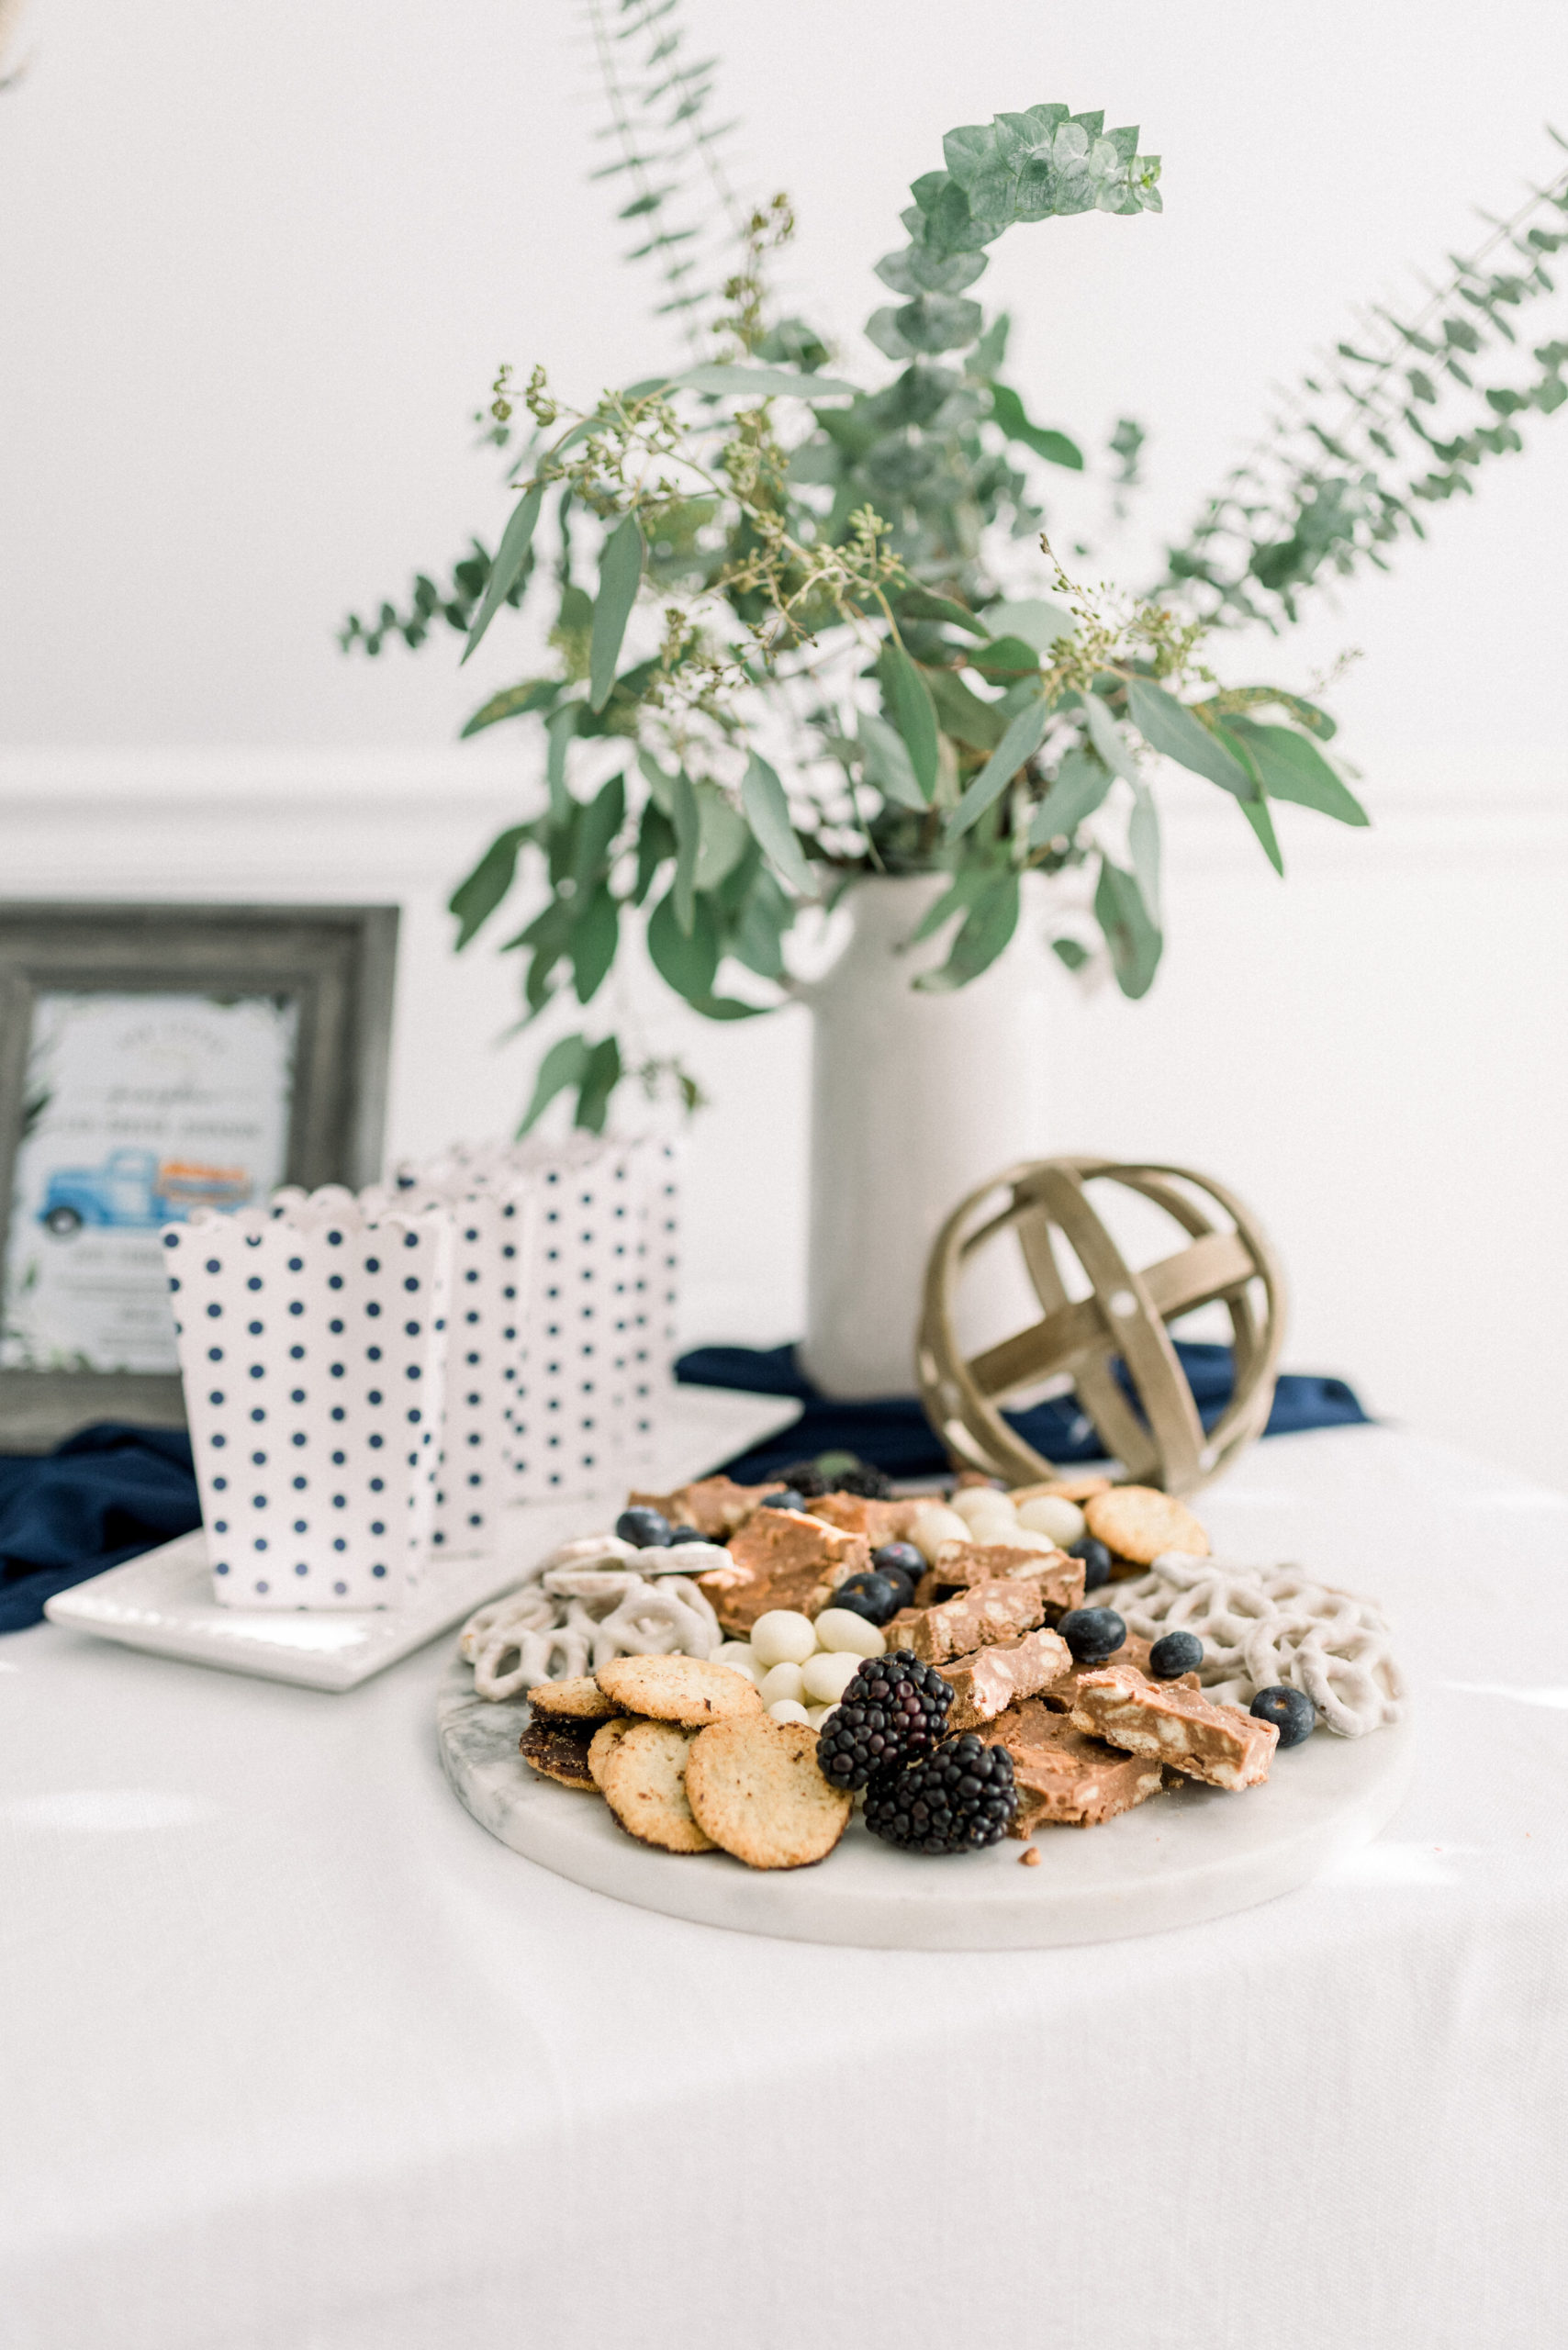
I love to add other desserts and pretty things to the cake table! These cute goodie bags are from the Dollar Store! I honestly didn’t even fill them with anything, but they brought some height and dimensions to the table. I raided our pantry and found all the snack/treats to create this sweet, yummy, treat board and then threw some berries on top to tie in the navy.
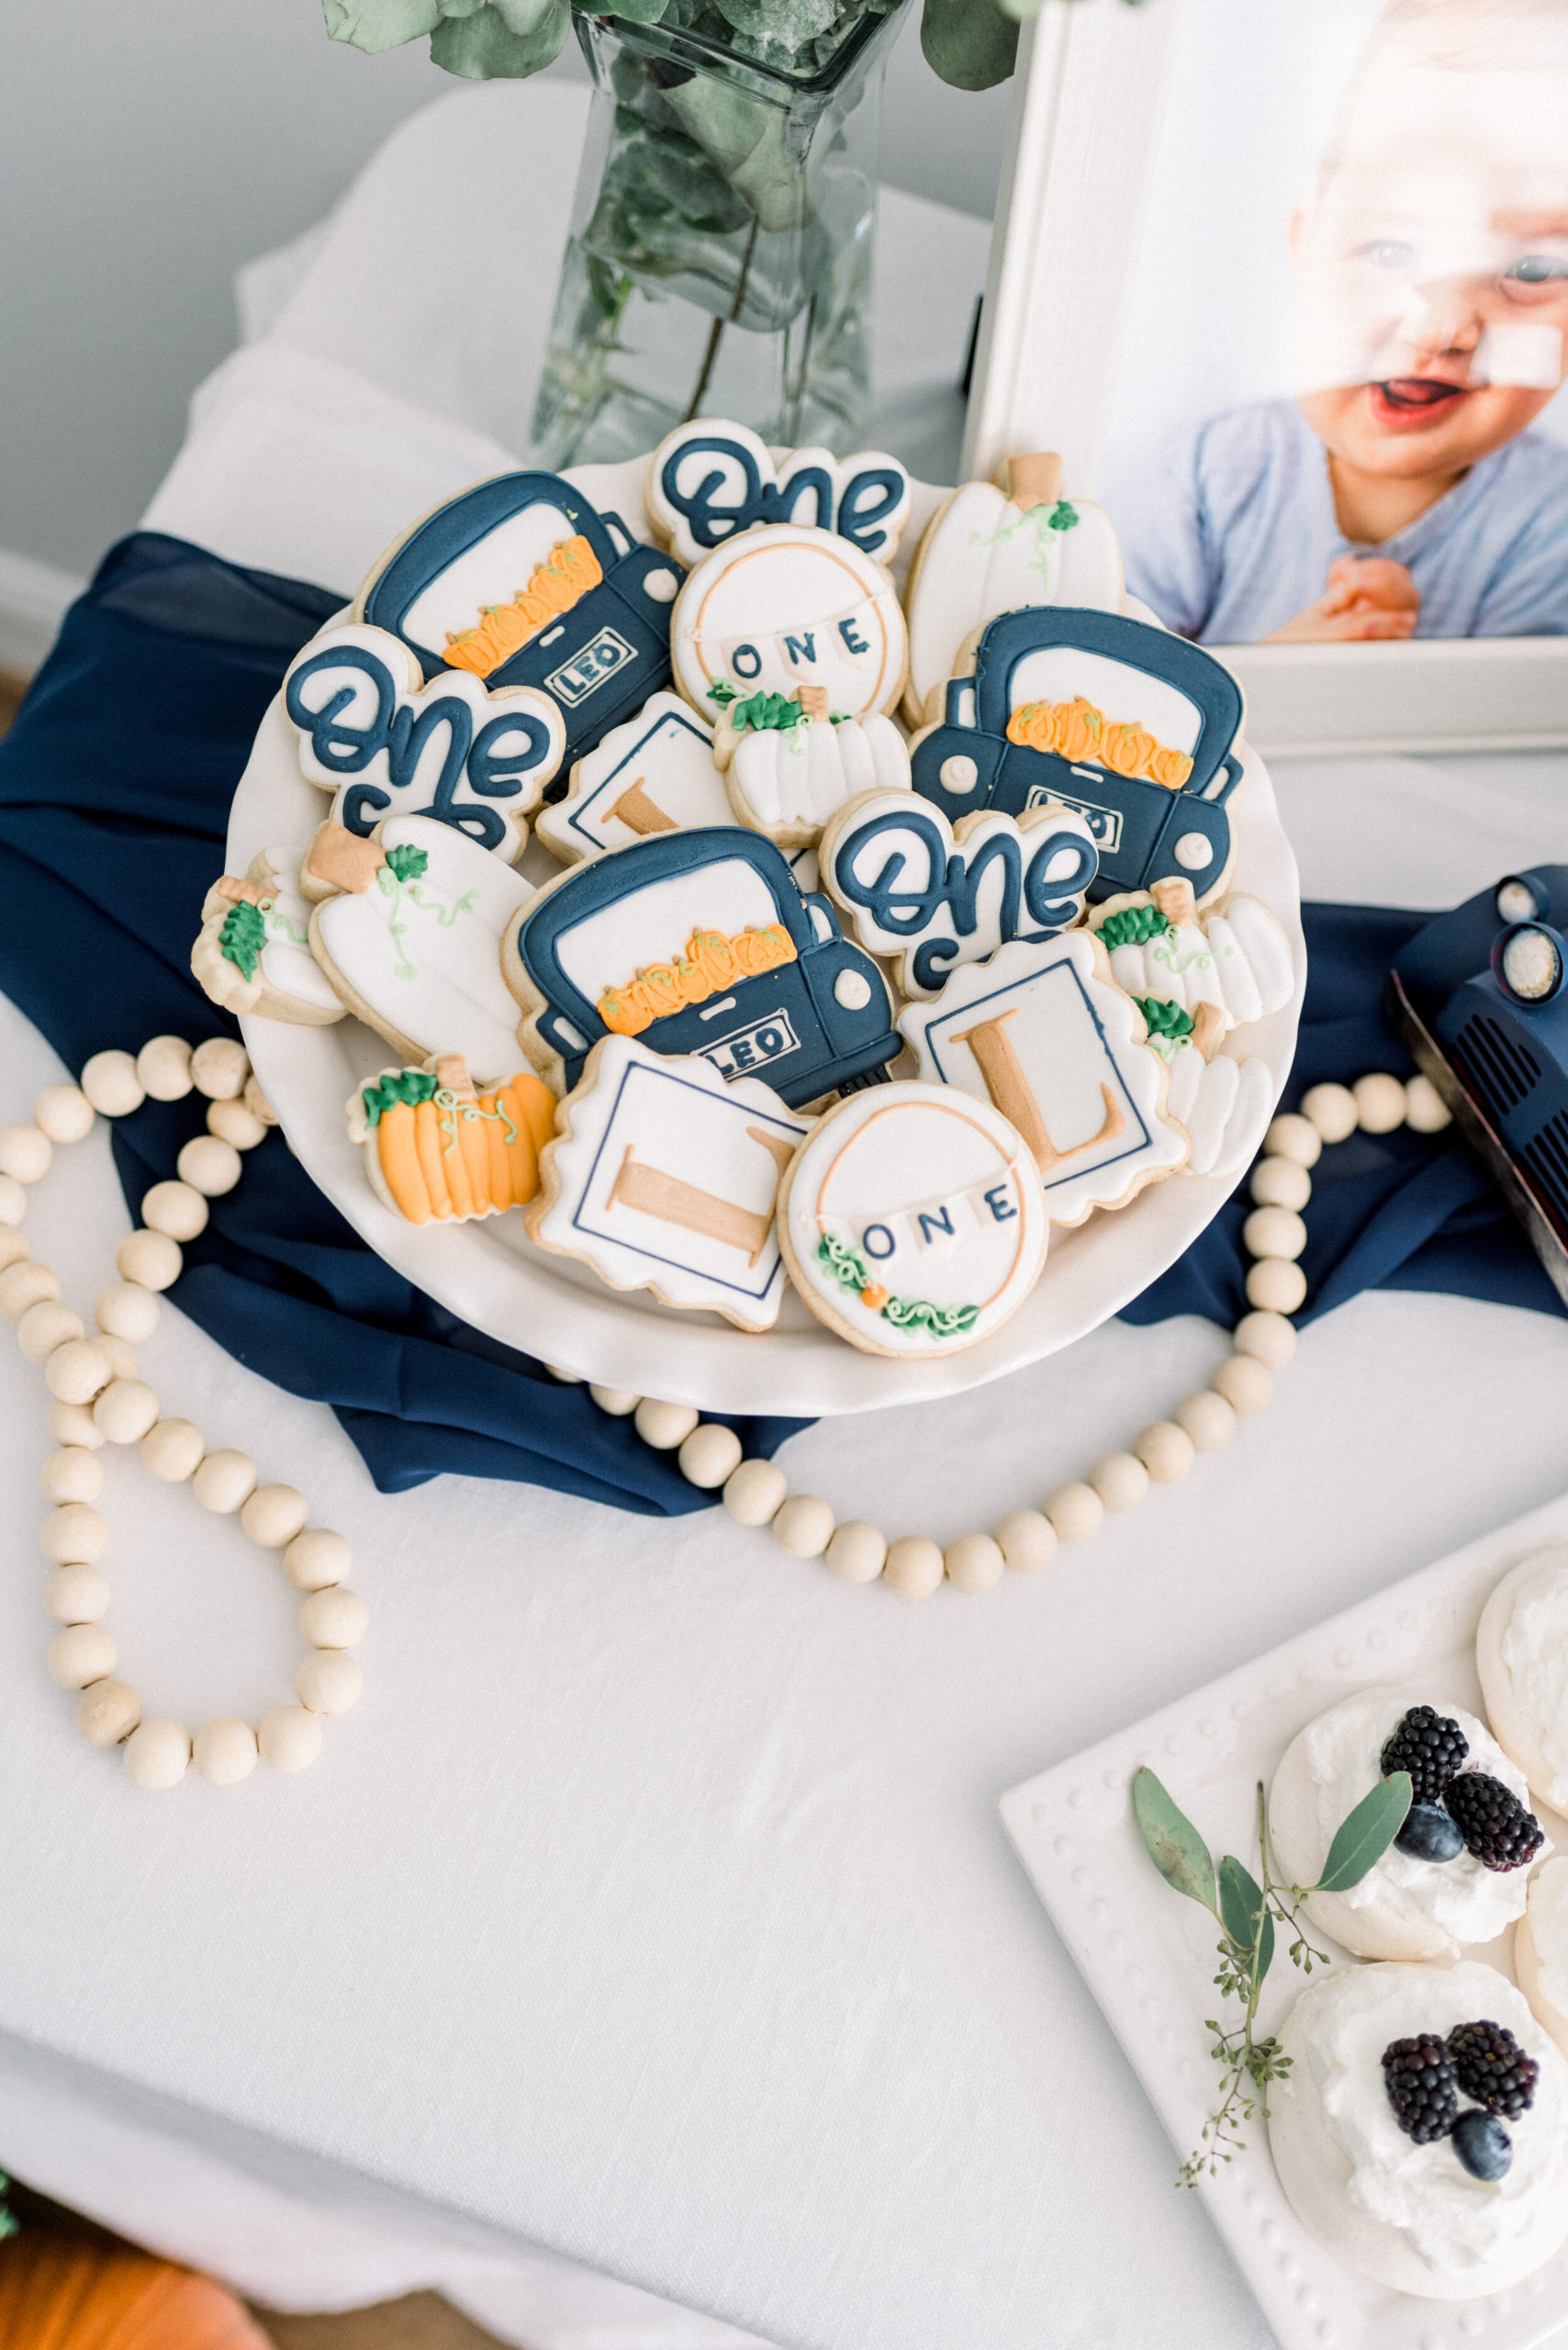
When COVID hit, I decided to learn how to make royal icing cookies! I have always admired the amazing cookies I have seen and have always LOVED watching the videos on insta of people decorating cookies – SO addicting! So I gave it a shot and now it is easily one of my favorite things to do and a fun side-hustle.
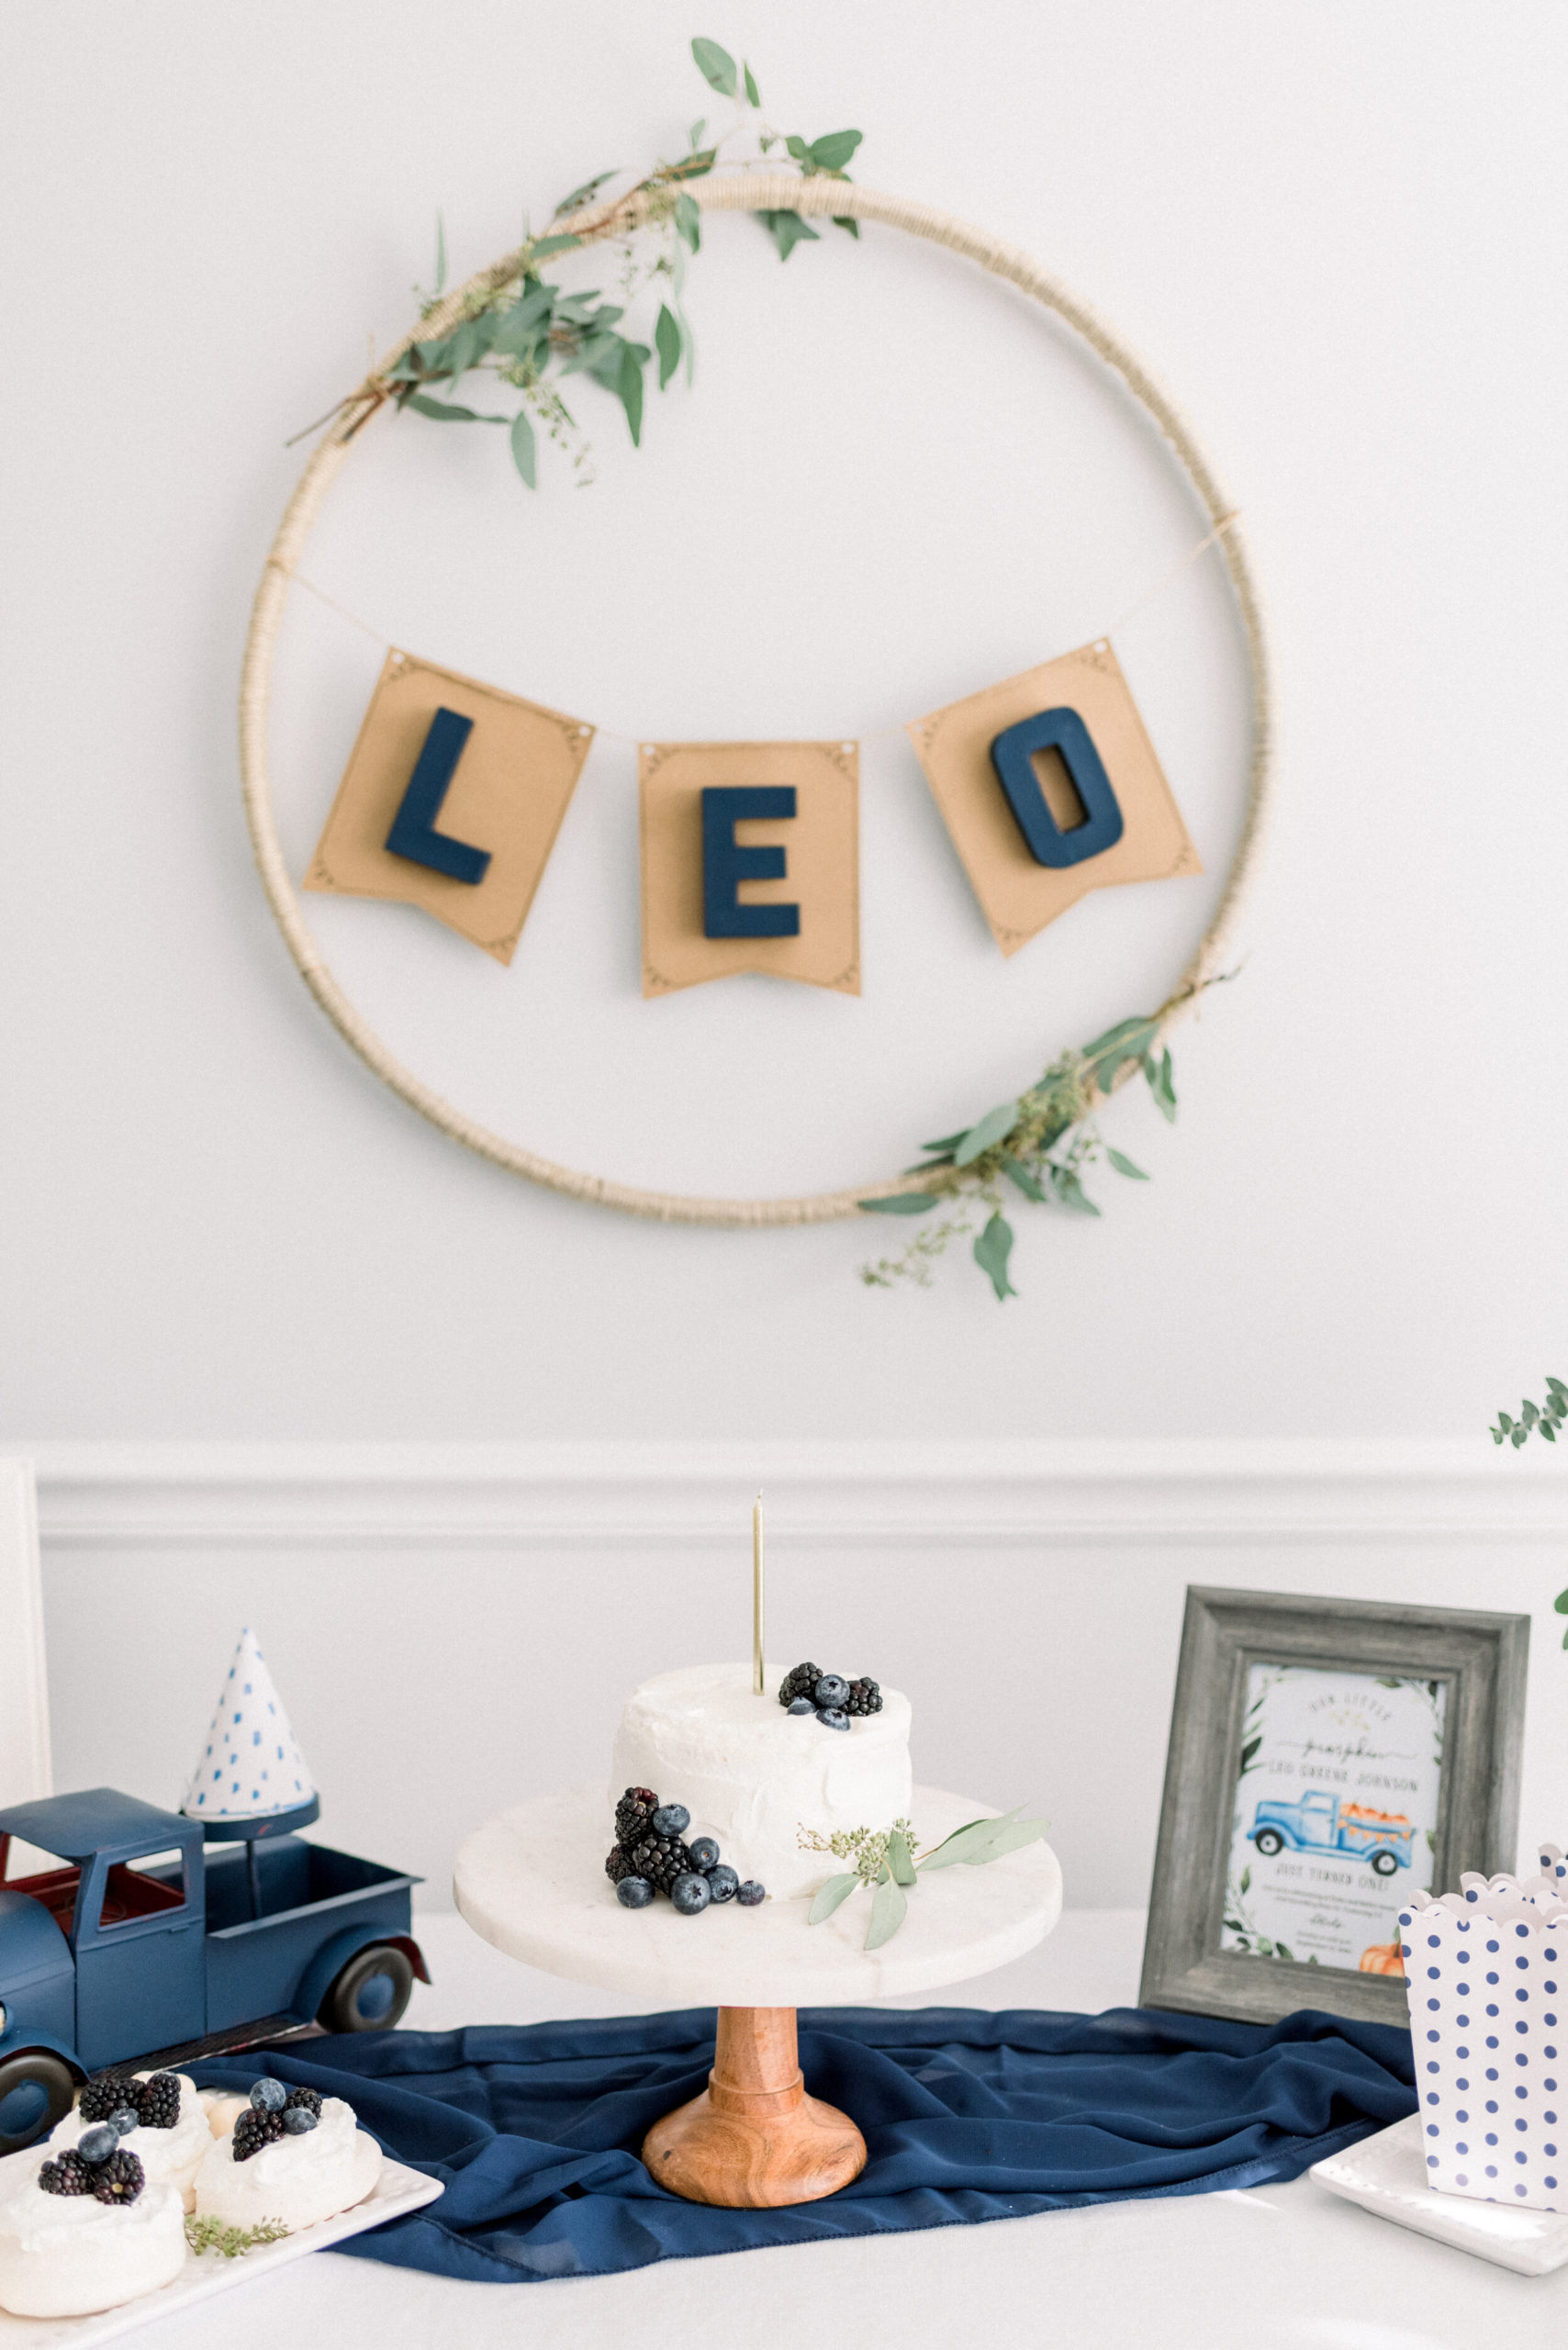
This LEO banner was fun! We used twine/jute string and hot glue to cover a hoola hoop and tied on some fresh eucalyptus. For the banner, we used this natural DIY banner from Party City and painted some cardboard letters from Hobby Lobby and stuck them on! I love how it turned out.

Balloons from Hobby Lobby
Jute Placemats: Target
Blue & white plates : Homegoods
White Napkins: Homegoods tied with a piece of brown ribbon
Tip for balloon garlands – cut up a bunch of smaller pieces of fishing line (about 6-8 in) and then tie a long piece of fishing line (about 2-3 feet longer than your desired banner length) between two chairs and keep it taught. When blowing up balloons, before you tie them off, slip in a small piece of fishing line in the knot. Then use that smaller piece of line and tie the balloon to the long piece of line. Spread out the balloons randomly by size and color and then move the balloons around until it looks the way you want it to! You can use tape or glue dots to secure the balloons in place.
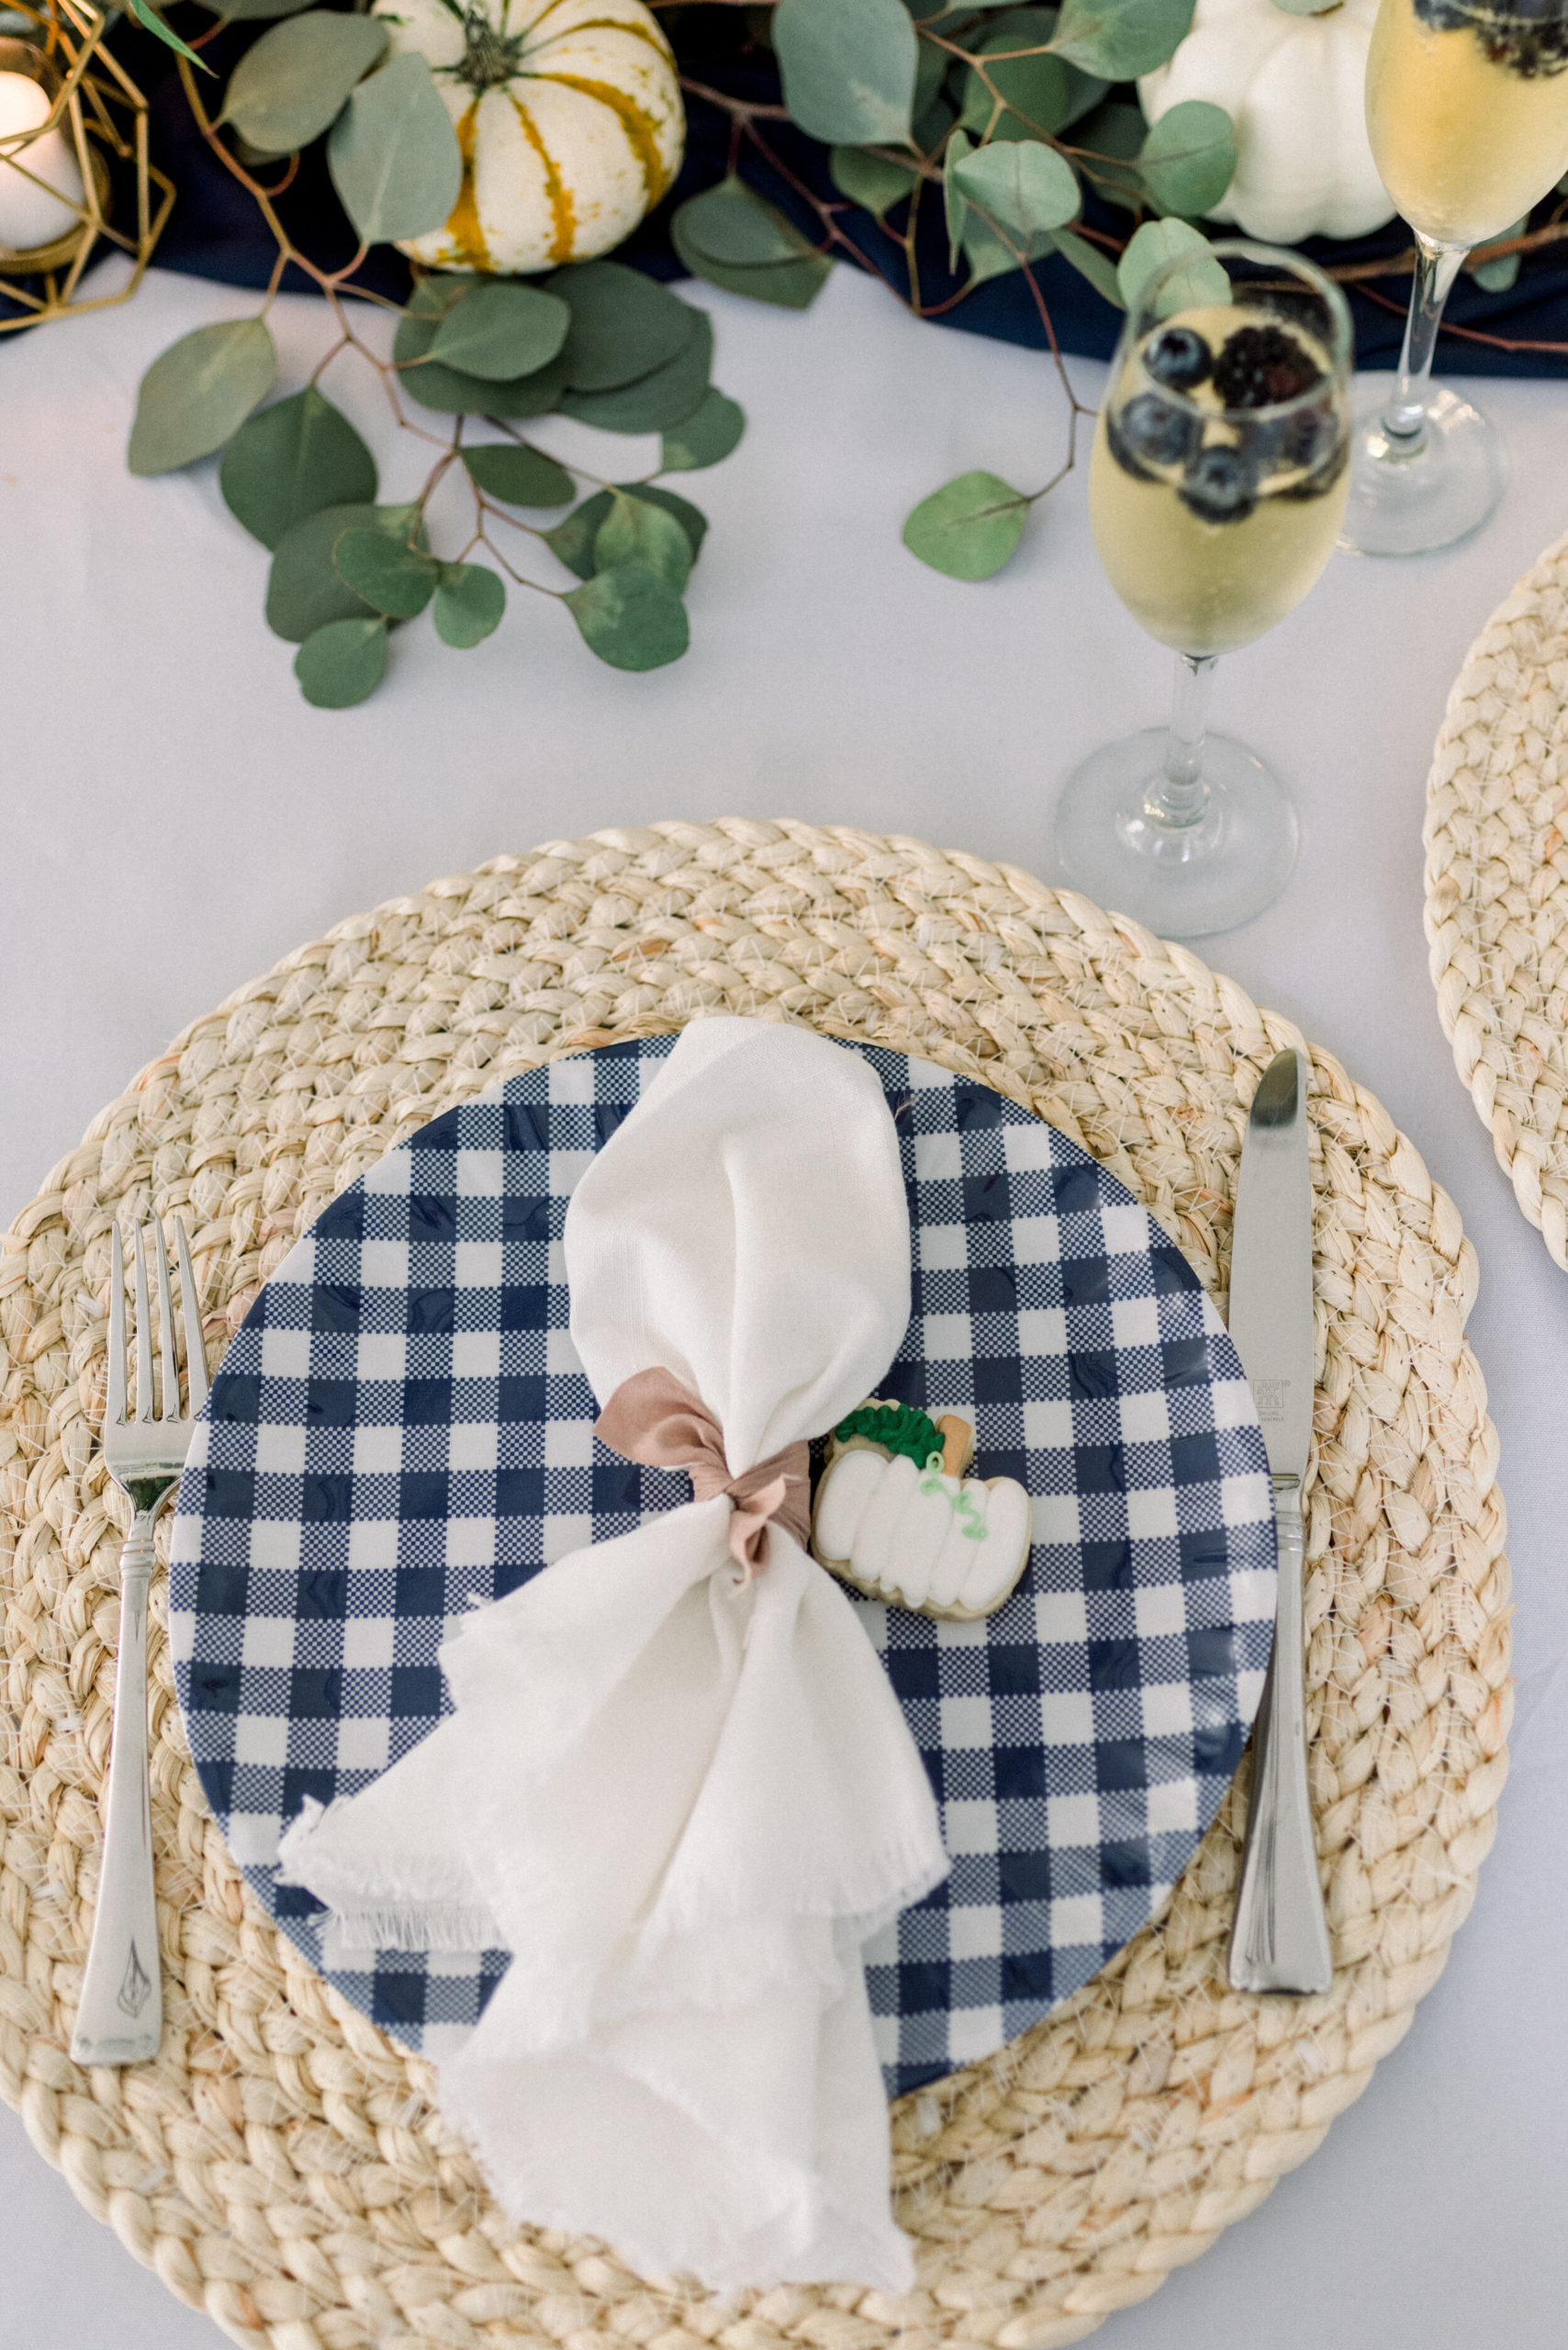
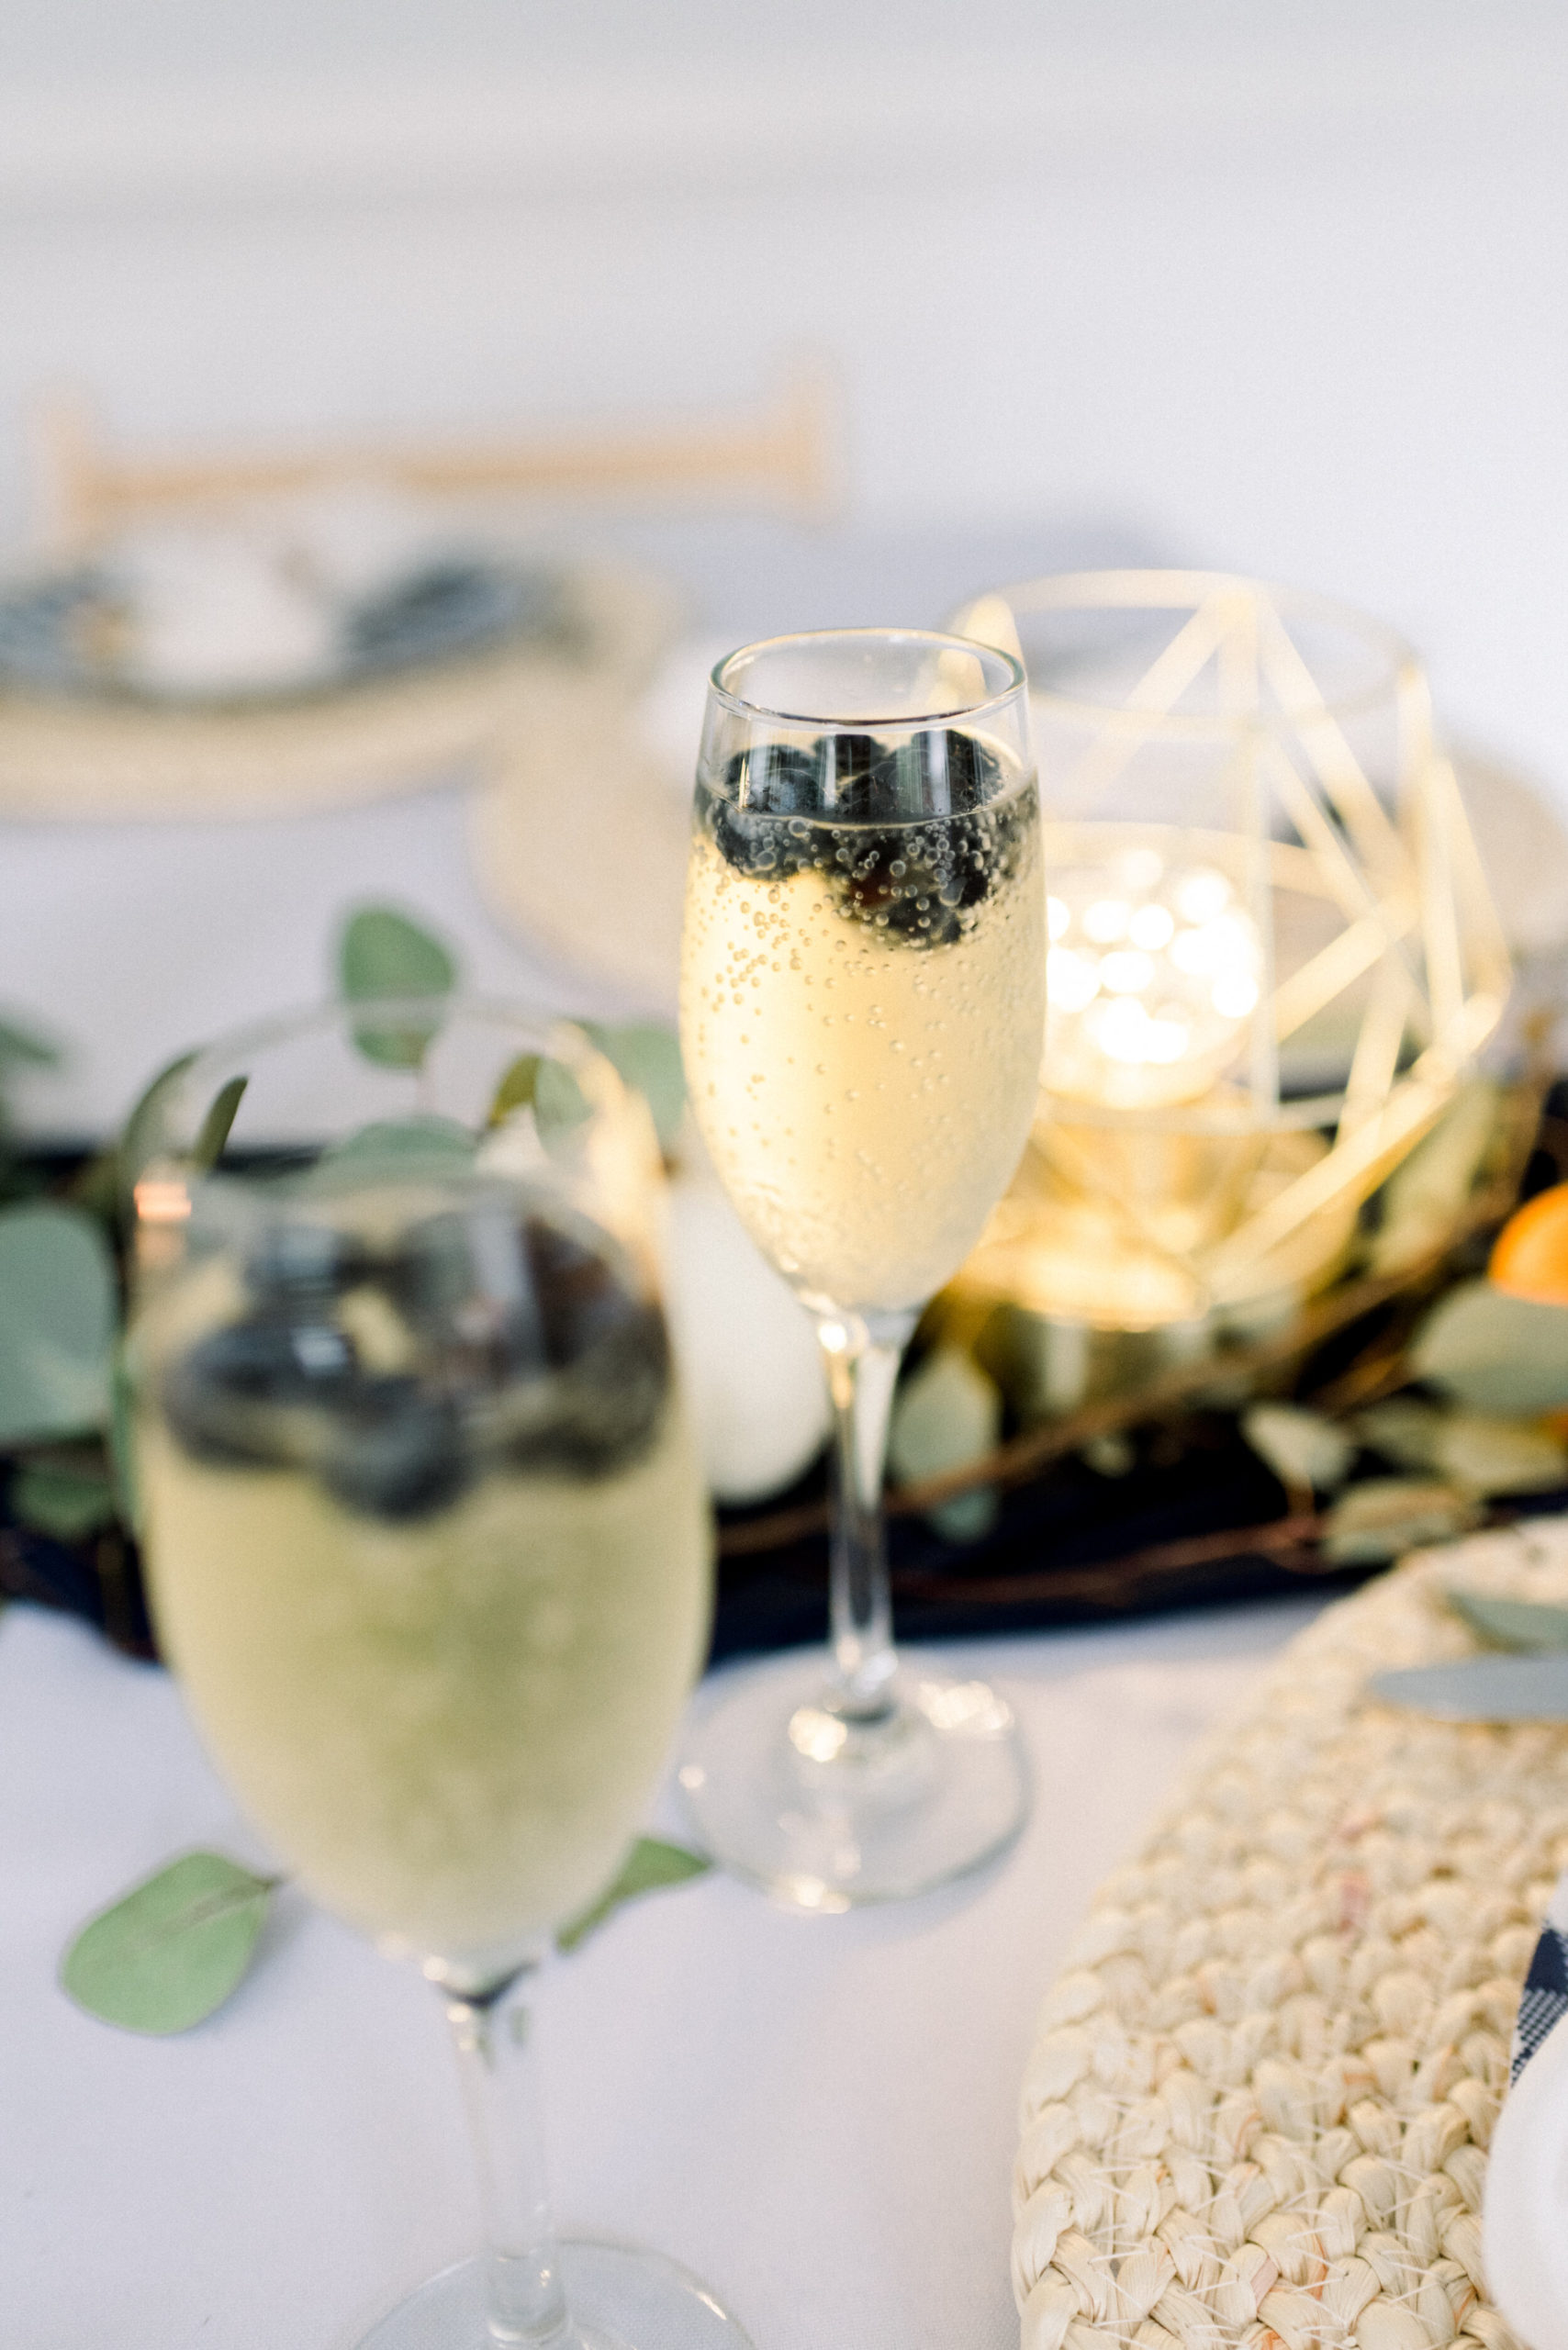
We served sparkling grape juice and again threw in some berries to tied in the navy!

I am a little OCD with the present table haha But luckily for me, nobody in the family likes wrapping presents and I love it, so I wrap them to all coordinate.
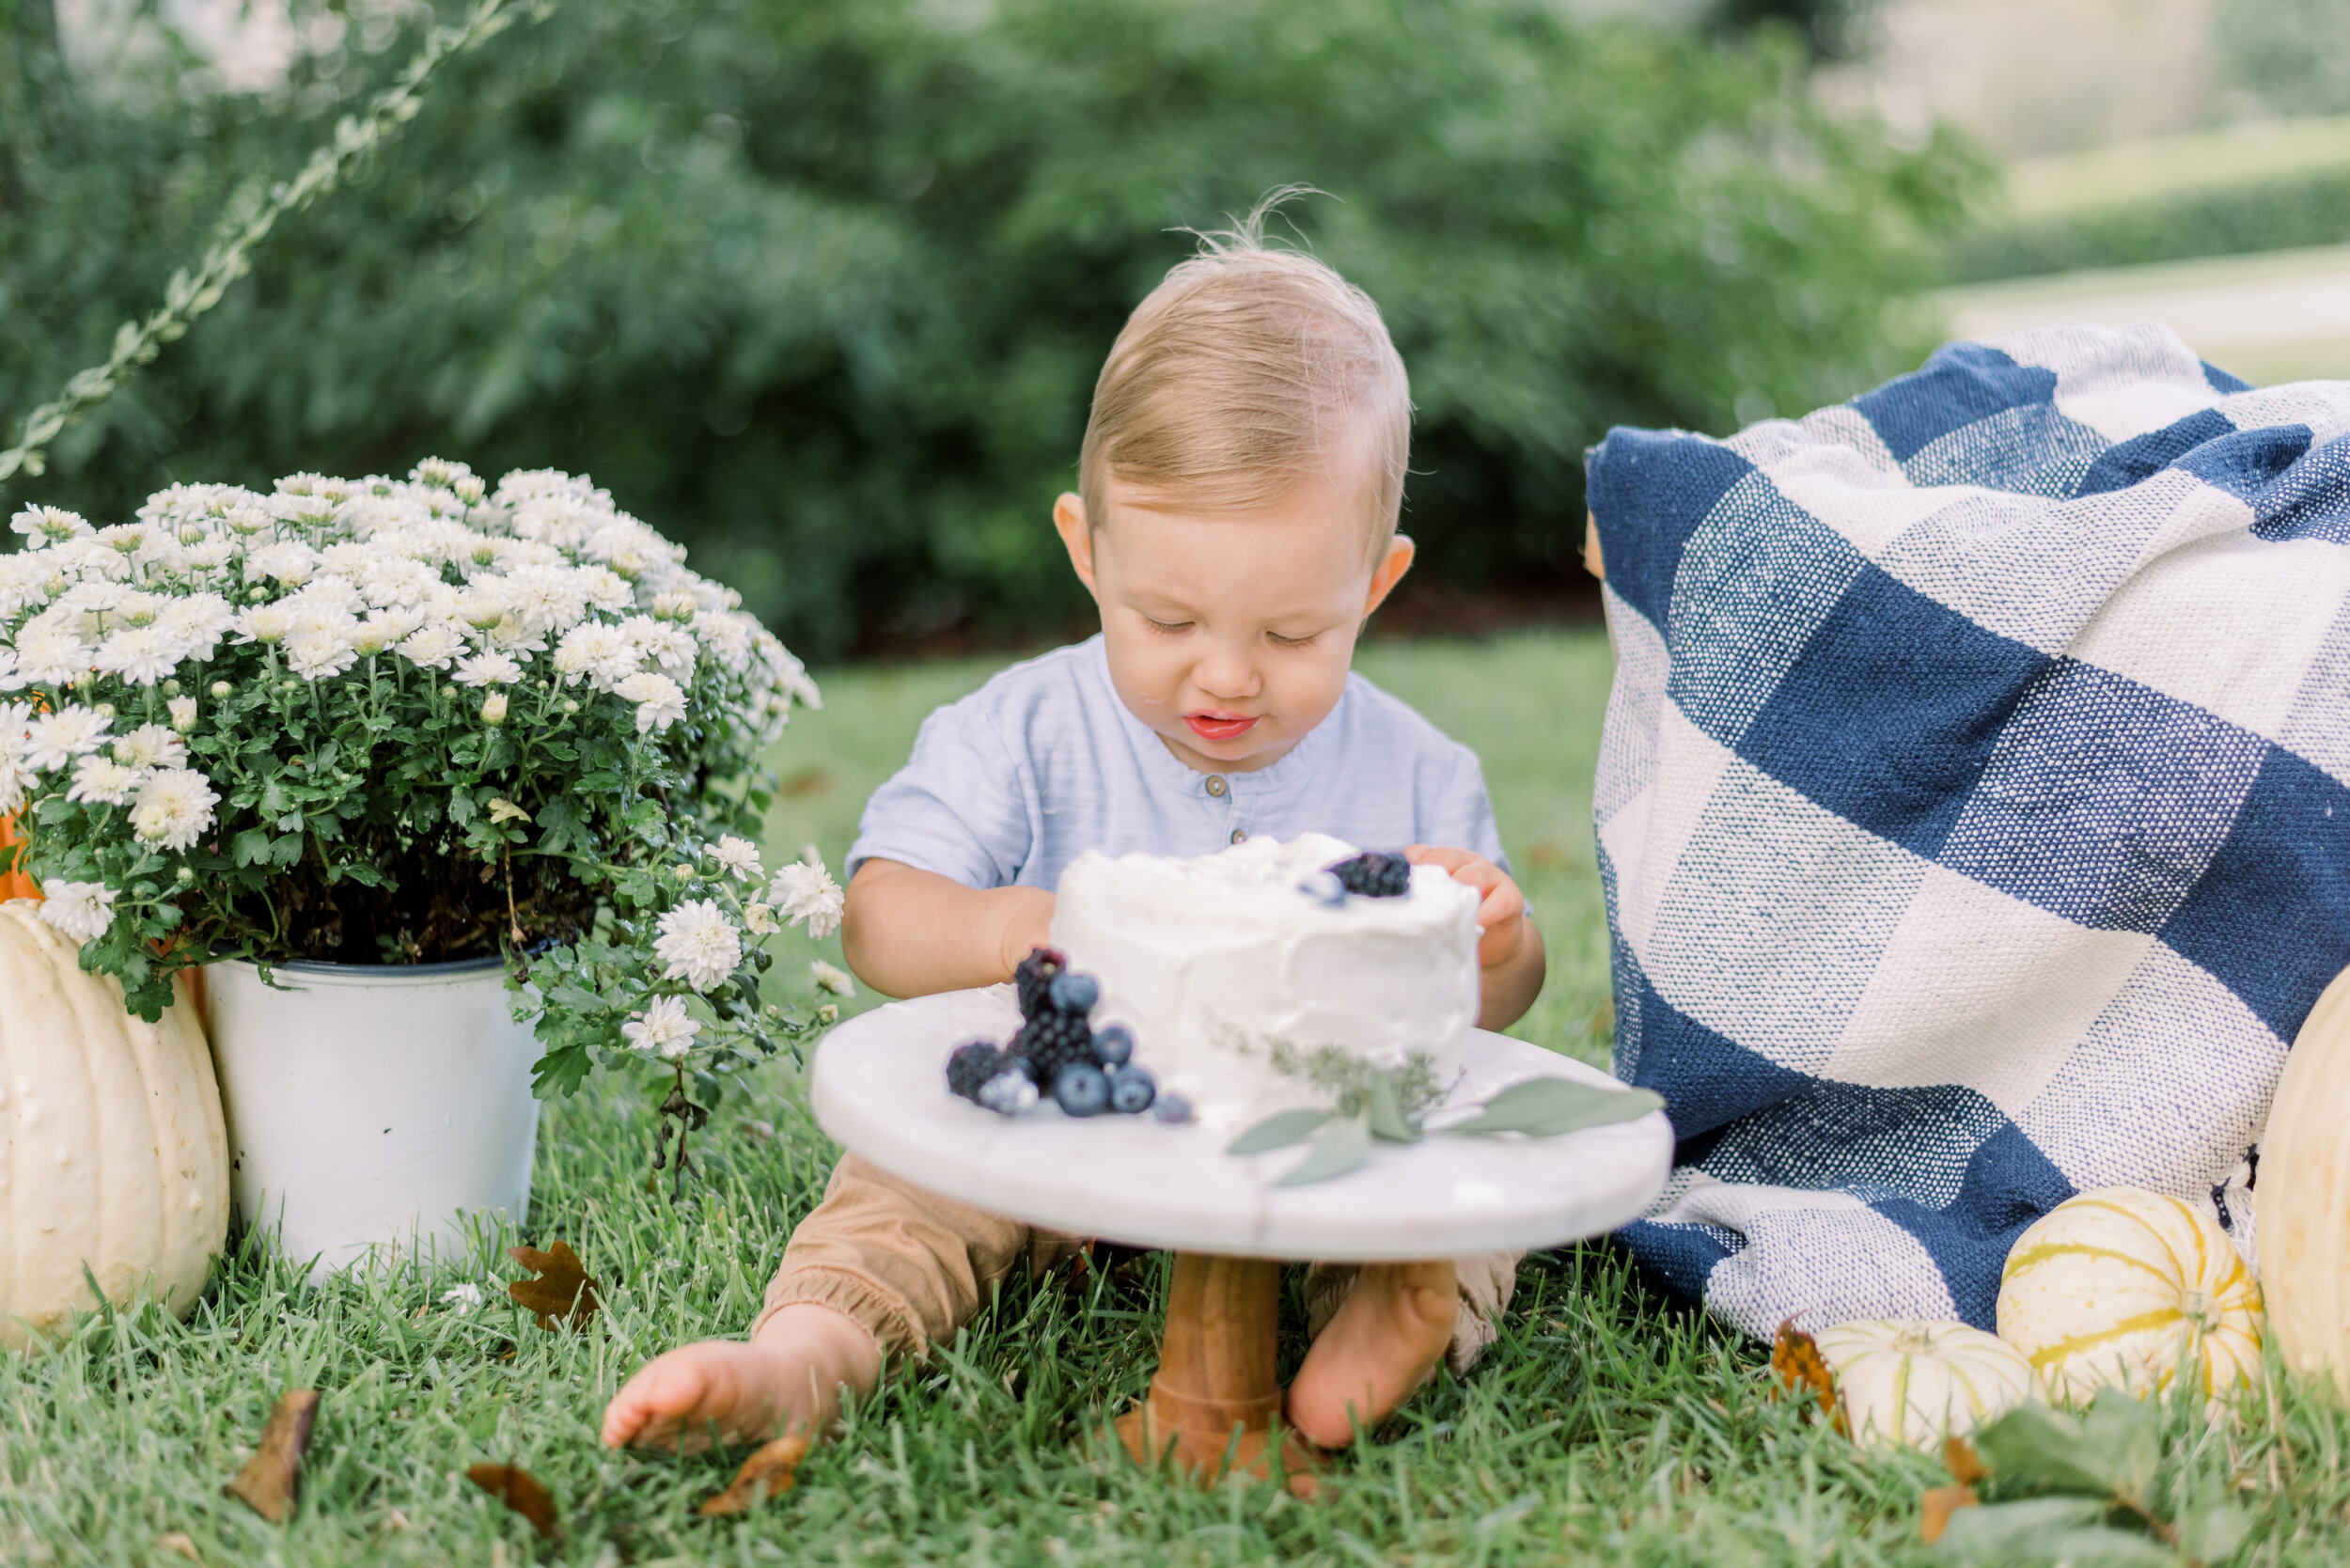
We moved our decor outside to do our cakes mash! I just love the greens, blues and whites!!
I seriously love every moment of the planning & decorating process and love to pass along all the ideas, tips, tricks that I have learned along the way (from some other amazing blog posts!!). Let me know if you need any suggestions, ideas or if you have any questions!
xx
Kayla
ON INSTAGRAM
Follow along for all the sneak peeks, most recent sessions, and all the everyday fun behind Kayla Newsome Photography! Let's be friends!

SUBSCRIBE
Whether you're looking for more information on the Wedding Experience or you want to be one of the first to sign up for mini sessions, you'll be in the know by signing up for the newsletter!

Subscribe

